Why You Might Want to Remove a Shirt Logo
From thrifted fashion finds to company uniforms or kids’ school shirts, many clothing items come with logos you don’t always want to keep.
Whether you’re reselling, personalizing, or simply cleaning up a shirt’s design, removing a logo can seem daunting. Done wrong, it can permanently ruin the fabric. The good news? With the right approach, you can safely remove logos without damaging your shirt.
But If the logo is too stubborn or the fabric too delicate, consider refreshing the design instead—here’s a complete guide on how to create stunning logos with AI to rebrand your shirt cleanly.
In this guide, you’ll learn step-by-step methods for removing different types of logos — vinyl prints, embroidery, and iron-on transfers — while preserving the fabric’s look and feel.
Step 1: Identify the Type of Logo
Before diving in, determine the type of logo you’re dealing with:
- Heat transfer/vinyl print: Smooth and rubbery with a shiny finish.
- Embroidered/stitch work: Threadwork sewn directly into fabric.
- Screen print: Flat ink design embedded into the fibers.
👉 Why it matters: Each method of removal requires a different approach.
Step 2: Gather Your Tools
Common household items can get the job done:
- A clothing iron or hair dryer
- Tweezers or a seam ripper
- Cotton cloth or parchment paper
- Rubbing alcohol or adhesive remover (fabric-safe)
- Laundry detergent for post-cleaning
Step 3: Methods to Remove Logos (Based on Type)
Before diving into specific logo types, if you’re dealing with athletic wear like polyester or moisture-wicking shirts, check out our detailed guide on How to Remove Logo From Dry Fit Shirt for fabric-specific tips.
1. Removing Heat Transfer or Vinyl Logos
The most common type on sports jerseys and uniforms.
Method: Heat & Peel
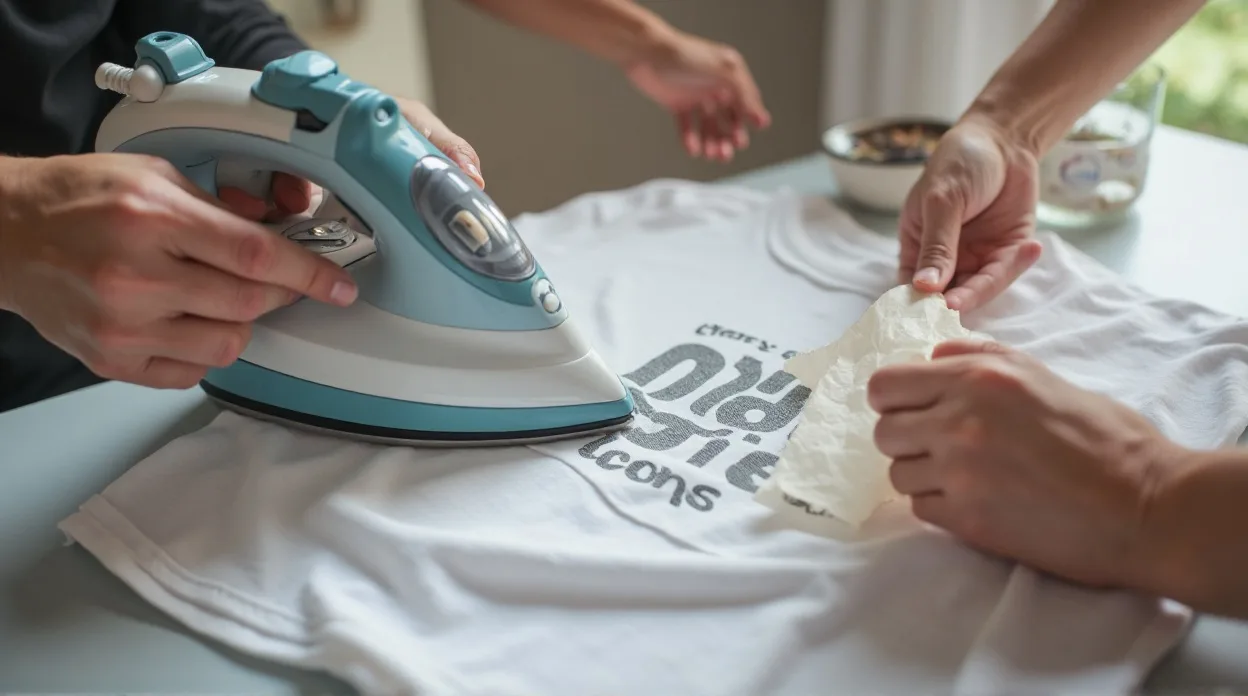
- Place a thin cotton cloth or parchment paper over the logo.
- Apply heat with an iron (medium setting, no steam) for 10–15 seconds.
- Gently lift the edge with tweezers.
- Peel slowly while reapplying heat as needed.
⚠️ Fabric Protection Tip: Always keep a cloth barrier between the iron and shirt to prevent scorching.
Stubborn Residue?
- Dab rubbing alcohol on a cotton ball, gently rub adhesive away.
- Wash shirt afterward to remove solvent traces.
2. Removing Embroidered Logos
Perfect for uniforms or branded polo shirts.
Method: Cut & Clean
- Turn the shirt inside out.
- Use a seam ripper or small scissors to carefully cut threads behind stitching.
- Remove loose threads from the front using tweezers.
- Gently smooth fabric with a warm iron.
⚠️ Note: Embroidery leaves behind needle holes. Washing and ironing often minimizes their appearance.
3. Removing Screen-Printed Logos
Trickiest because ink penetrates fabric fibers.
Method: Solvent & Scrape (Use Caution)
- Apply a small amount of rubbing alcohol to the print.
- Let sit for a few minutes to soften ink.
- Use the edge of a credit card to scrape carefully.
- Wash shirt immediately after.
⚠️ Limitation: Complete removal is difficult; sometimes fading or camouflaging with fabric paint is a better alternative.
Step 4: Post-Removal Care
Once the logo is removed:
- Wash shirt on a gentle cycle with a mild detergent.
- Air dry instead of machine-drying to avoid new damage.
- Lightly iron to restore smoothness.
Optional: If faint marks remain, fabric dye or iron-on patches can give the shirt a new life.
Prevention & Pro Tips
- Always spot-test solvents on an inside seam first.
- For delicate fabrics like silk or wool, professional cleaners are safer than DIY.
- When thrifting for resale, prioritize shirts where logos are heat transfers or embroidery (easier to remove than screen prints).
FAQs
Q: Can I remove every type of logo completely?
A: Heat transfers and embroidery can often be removed fully, but screen prints usually leave faint marks.
Q: Is nail polish remover safe to use?
A: Avoid acetone-based removers—they can bleach or weaken fabric. Stick to rubbing alcohol.
Q: Will removing embroidery cause holes?
A: Tiny needle holes may remain, but often shrink after washing and ironing.
Q: What’s the fastest method?
A: Heat and peel (for vinyl transfers) is usually the quickest, but patience is key for best results.
Conclusion: Give Your Shirt a New Life
Removing a logo from a shirt doesn’t have to mean ruining it. Whether you’re reclaiming a thrifted gem, changing out old uniforms, or personalizing your wardrobe, using the right method for the right logo ensures success. Start with gentle techniques, protect the fabric, and practice patience. Done carefully, you’ll have a logo-free shirt that looks clean, fresh, and ready to wear.

